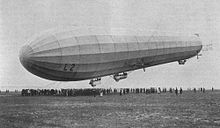
German air superiority, the result of the synchronized gun, was over by the beginning of 1916. When the fight for Verdun began in February, the Germans were initially able to dominate the air, but by April the French, with their new Nieuport 11s, had chased them out of the skies. It was becoming clear that mastery of the air was of growing importance, as artillery developed its coordination with aerial spotting and the idea of close support of infantry (strafing and bombing troops) was emerging. This in turn forced the development of antiaircraft weaponry and techniques.

British insignia

French insignia

Belgian insignia

Russian insignia

Italian insignia

American isignia

German isignia

Austrian insignia

Ottoman insignia
The Royal Flying Corps and the Aéronautique Militaire were now pumping planes and men into battle, and while pilots were typically poorly trained because of the rush to get them in the air, the Allies were very successful during the Battles of Verdun and the Somme. The Germans got the message and by October had reorganized their air arm as the Luftstreitkräfte, which now included bomber groups, ground support units and most famously, increasingly well-organized and trained fighter squadrons, the Jagdstaffeln (abbreviated to Jasta).
There was now clearly an arms race in the air. By the end of 1916 new specialized German fighter aircraft were beginning to win the skies back from the numerically superior Allied forces. The fragile Fokker Eindeckers gave way to biplane designs, the Halberstadt D.II, the Fokker D.III and the more advanced Albatros D.I; the Fokker and Albatros mounted twin machine guns, giving the German pilots a tremendous advantage in combat. Further, the Jagdstaffeln were rapidly developing new tactics that emphasized coordinated attacks by the planes in a squadron. The day of the lone fighter was fast disappearing.

Halberstadt D.II

Fokker D.III

Albatros D.I
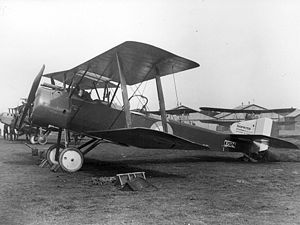
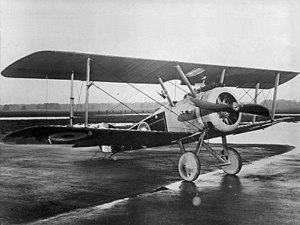
By the beginning of 1917 German aviators were again sweeping the skies. The British had far more planes, but most, like the BE.2, were outdated and little more than targets. New and better machines were arriving – the Sopwith Pup, the Sopwith Triplane and the SPAD S.VII – but not only were there few of them but they all carried only a single gun. The result was “Bloody April.”
SPAD VII
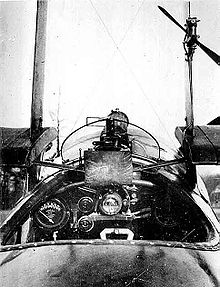
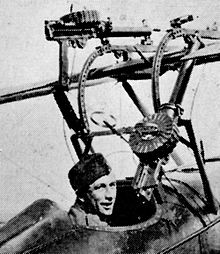
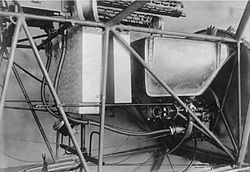
Triplane cockpit
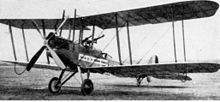
BE.2

Sopwith Pup

Sopwith Triplane
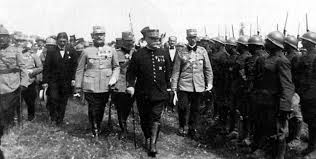
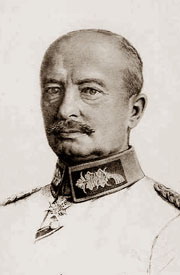
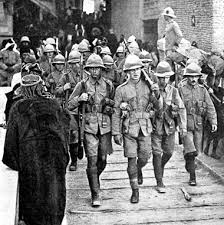
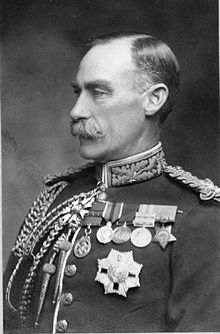
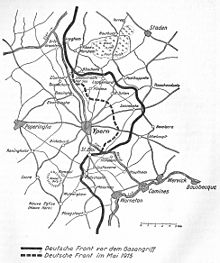
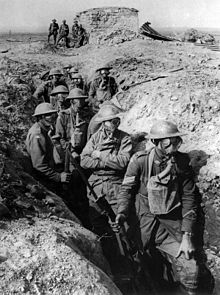
Remember the Battle of Arras of April 1917? While the British were suffering some 150,000 casualties on the ground, the Royal Flying Corps, though numerically superior to the Germans, was undergoing a disaster. The RFC had about 365 aircraft, a third of them fighters, going up against about 80 German fighters; the British lost 245 planes to the Germans’ 66. They also lost some 400 aircrew, a number increased by RFC commander Hugh Trenchard’s policy of offensive airpower, fighting on the German side of the line. German commander Ernst von Hoeppner, with far fewer planes, kept his fighters on his side, thus increasing their range, minimizing wear and tear and safeguarding downed pilots.

Hugh Trenchard

Ernst von Hoeppner
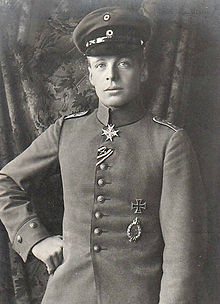
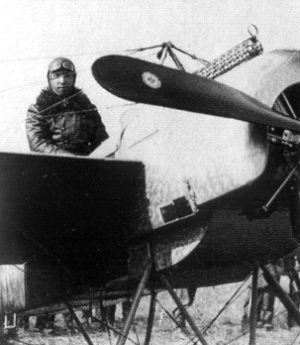
Making life even worse for the British fliers was the presence of Jasta 11, commanded by the already famous Manfred von Richthofen, who had assumed command in January after winning his Pour le Mérite. In the month of April he alone downed 22 planes in his bright red Albatros D.III (hence the names Der Rote Baron and Der Rote Kampfflieger), which paint job was soon copied by the other pilots in the Jasta. Richthofen is generally associated with the famous red Fokker Dr.I triplane, which he began flying in July, but only 19 of his 80 victories were scored in this nimble aircraft.

Manfred Freiherr von Richthofen

Jasta 11 – Richthofen in the Albatros

Jasta 11 Albatros D.IIIs
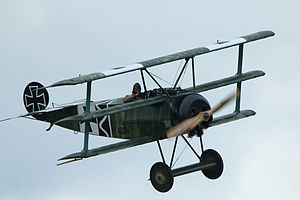
Fokker Dr.I
Richthofen’s Dr.I
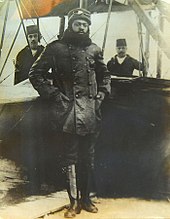
In June Richthofen was made commander of the first of the new Jagdgeschwader (fighter wings), made up, in this case, of four squadrons. By then other Jasta had also adopted distinctive squadron colors, and consequently Jagdgeschwader 1 became known as the Flying Circus. Incidentally, in Jasta 26 during Bloody April was a young (and thin) ace named Hermann Göring (22 victories); in July 1918 he became commander of the Flying Circus and survived the war (obviously). At the same time Jasta 14 was commanded by another ace of aces, Rudolf Berthold (44 victories); he won the Pour le Mérite and survived, only to be killed by a leftist mob in 1920.

The Flying Monkey Wrench
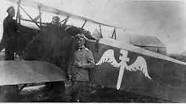
Berthold and his Fokker D.VII – the Flying Monkey Wrench
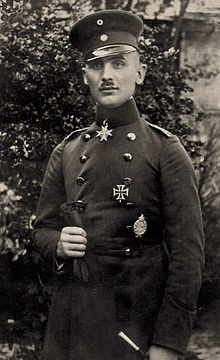
Rudolf Berthold

Hermann Göring

Göring in the cockpit
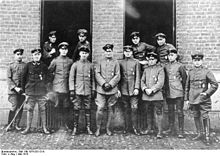
Jasta 26
In the second half of 1917 the balanced tipped again. The SPAD S.XIII, the SE.5a and the Sopwith Camel entered the fray, all with twin guns, while the new German planes, the Albatros D.V and Pfalz D.III, had many problems. The Fokker D.VII, perhaps the best German fighter of the war, appeared in May 1918, but not in numbers sufficient to impact the Spring Offensive.
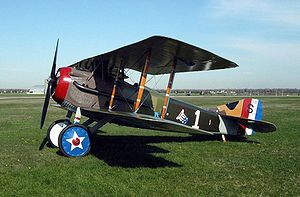
SPAD S.XIII – Rickenbacker’s markings

SE 5a
Sopwith Camel

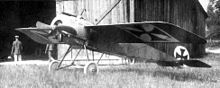
Fokker D.VII

Albatros D.V
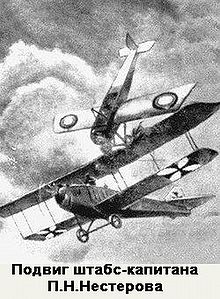
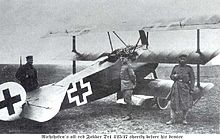
And not in time for one of the plane’s chief supporters, Richthofen, who was killed on 21 April, shot down not by Captain Roy Brown in a Sopwith Camel, as long believed, but by a single shot from an Australian gunner (identity debated) on the ground. Richthofen managed to land his Dr.I, but died almost immediately, and his plane was virtually dismantled by souvenir hunters. He was buried with full military honors by No. 3 Squadron of the Royal Australian Air Force. Honor had not been completely extinguished in this corner of a generally faceless war.

Manfred von Richthofen

His funeral

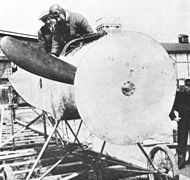
Remains of the plane
Air losses were heavy for both sides during the Spring Offensive and the counter-offensive that followed, and by September the Allies had lost the most aircrew since Bloody April. The Germans were generally superior in aircraft and pilot experience, but simply no longer had the resources to produce enough planes, and the Allies essentially overwhelmed them with numbers.
1918 also saw the first appearance of American squadrons (as opposed to individual volunteers with the French and British), but the Americans had no fighters and were compelled to use European aircraft. At first they were given older planes, and that together with inexperience led to horrific casualties, but in the last months of the war they were flying the most advanced Allied machines.
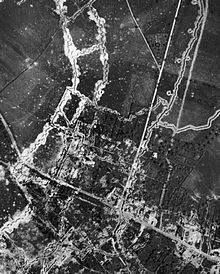
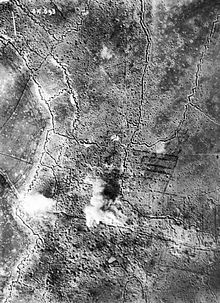
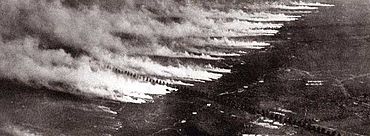
The major impact of the airplane in the Great War was what it had been at the very beginning: better reconnaissance, especially for artillery spotting. The big guns became far more devastating as coordination with observation planes developed, and by the end of the war artillery had become virtually dependent on aerial spotting. This of course came at a price, though perhaps trivial compared with casualties in the ground war. Losses of aircraft and aircrew casualties of the major air powers in the course of the conflict: Britain 35,970, 16,620; France 52,640, 7250; Germany 27,640, 16,050.
Ahmet Ali Çelikten, possibly the first Black pilot
The most destructive aspect of the airplane – strategic bombing of civilian targets – would have to wait until the next war.