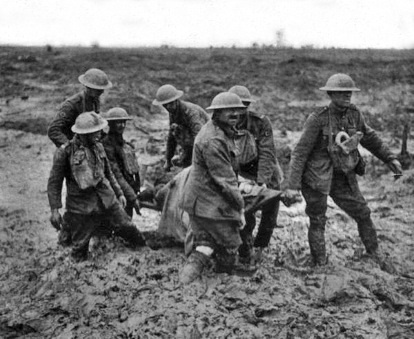
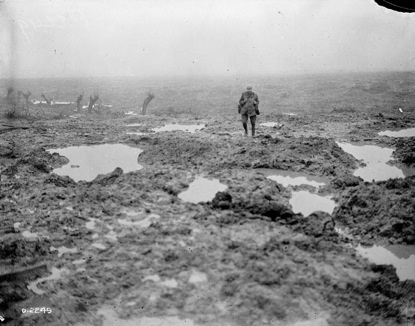
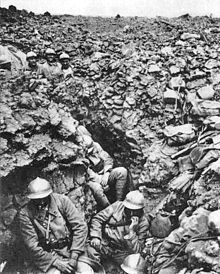
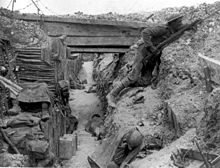
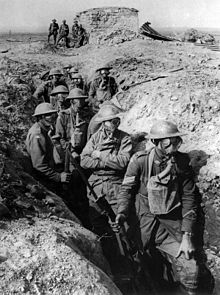
The new socialist Russia might be opting out, but on the Western Front the war went on. On 6 November the Canadians finally captured Passchendaele, now more like the surface of the moon than a town, and four days later the Third Battle of Ypres came to an end. The figures are disputed, but the Allies and Germans together had suffered at least a half million casualties in the campaign to capture Passchendaele Ridge. But it was not over yet.
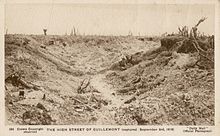
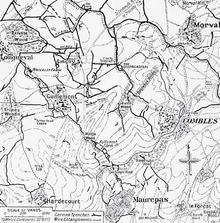
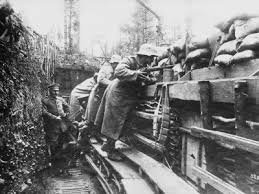
Haig decided that it was time for a big push some fifty miles south of Ypres, opposite Cambrai, the capture of which would threaten the German rear lines. On 20 November two British corps with 476 tanks (378 with guns) pushed off against a German corps. Tanks had been used before but not in such numbers, and together with close coordination between infantry and artillery they allowed the British to advance as much as five miles on the first day against deep and well developed German defenses. In six hours the British had gained as much as they had in three months at Ypres and at half the casualty rate.

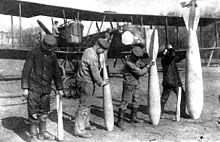
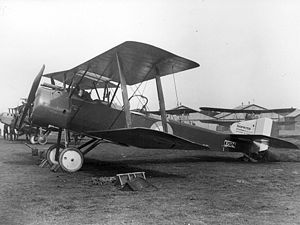
Inside the Mark IV
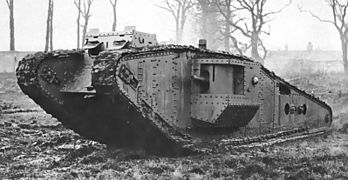
The Mark IV tank

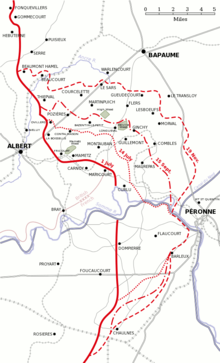
Battle of Cambrai
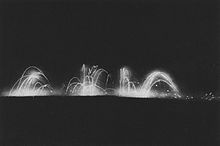
That, however, changed the next day. The Mark IV tanks had played a major role in penetrating the deep fields of wire, but the defenses stiffened and the Germans had actually developed anti-tank measures. On the first day 65 tanks were knocked out by artillery, and 71 broke down and 43 were immobilized in shell holes and ditches, hardly surprising for a new technology. (A Report on tank development will appear.) The remainder of the offensive was more typical of the Western Front, as progress slowed and the casualties began mount. On 30 November the Germans launched a serious counterattack and began recovering lost ground, and when the battle ended on 7 December it was a draw: the British retained territory gained in the north and lost pre-offensive turf in the south. And all this for a combined 90-100,000 casualties.
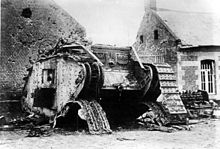
Another dead tank

Damaged tank

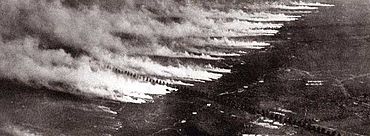
German counterattack
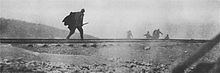
And the news we have all been waiting for: the Twelfth Battle of the Isonzo (Caporetto). By 2 November the Germans and Austrians had crossed the Tagliamento River, only 40 miles from Venice, but the inevitable supply problems associated with a successful advance began to slow things down, giving the Italians time to establish a line on the Piave River. Enemy forces reached the Piave on 11 November, but short of supplies and reinforcements they could not cross the river, nor could they in the next two weeks dislodge the Italians from Monte Grappa, which guarded the left flank of the Piave Line.

From Monte Grappa towards the Austrian position

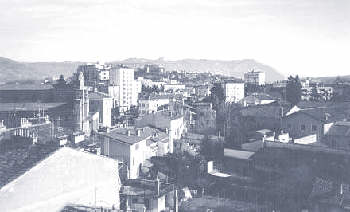
The Piave Line

Battle of Caporetto
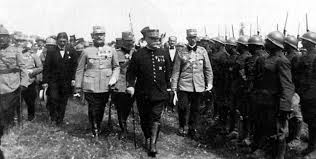
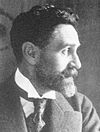
Total defeat was avoided, but no thanks to General Cadorna, who was largely responsible for the disaster: poor deployment, no defense in depth and poor morale (his troops hated him), even among his higher officers (he had canned 827 of them). On 9 November, partly at the urging of Britain and France, he was replaced as Chief of Staff by Armando Diaz, one of his better generals. Unfortunately, Prime Minister Vittorio Orlando also appointed as Diaz’s second in command Pietro Badoglio, who had played a major role in the defeat and would be accused of war crimes in the next war. On 27 November Cadorna was named Italy’s representative on the newly formed allied Supreme War Council.

Pietro Badoglio as a Fascist

Goodbye, Luigi

Armando Diaz

Vittorio Orlando
Diaz was able to stabilize the Italian front on the Piave and successfully defend Monte Grappa, but Italy had suffered one of the greatest defeats in its history. About 350,000 German and Austrian troops had taken on some 874,000 Italians and routed them. The Italians suffered only 40,000 killed and wounded to the enemy’s 70,000, but they lost 265,000 men to capture, a telling sign of how much Cadorna was despised by his men, who surrendered in droves. On the other hand, the disaster, the loss of so much Italian soil and the new leadership of Diaz led to something of a rebirth of the Italian army. The collapse and retreat of Caporetto (and Cadorna’s draconian policies), incidentally, is the backdrop of Ernest Hemingway’s A Farewell to Arms.
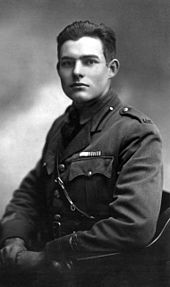
Ernest Hemingway in 1918

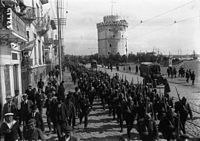
Italian POWs
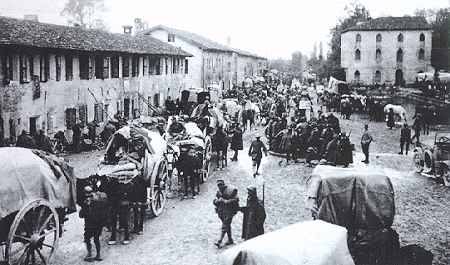
Italian retreat
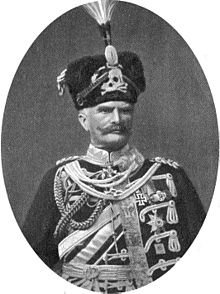
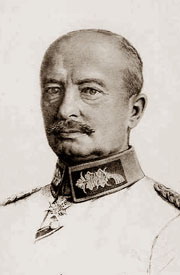
Meanwhile, in Palestine the Third Battle of Gaza was rolling on. The capture of Beersheba and the eastern sector of the Turkish line made their position in Gaza ultimately untenable, and during the night of 6/7 November the Turks slipped out of the city. The Egyptian Expeditionary Force pursued, withstood a Turkish counterattack on 12 November and on the 13th and 14th attacked and defeated the Turkish rearguards, leading the Ottoman commander, Erich von Falkenhayn, to order a withdrawal all along the line. His Seventh Army took up positions in the Judean Hills, preparing to defend Jerusalem, and his Eighth Army retreated up the coast to just beyond Jaffa, which was entered by EEF units on 16 November.

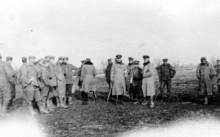
Surrender of Jaffa
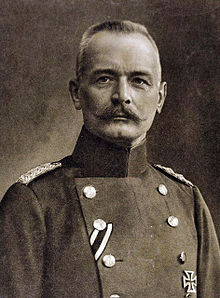
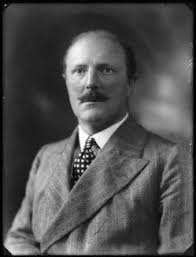
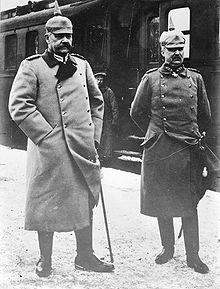
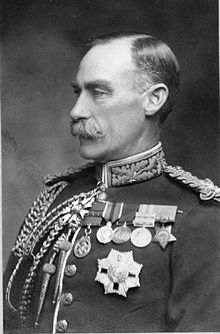
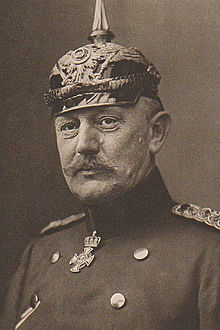
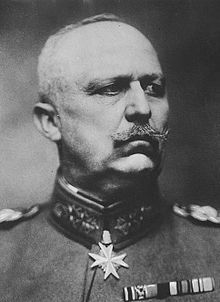
Falkenhayn

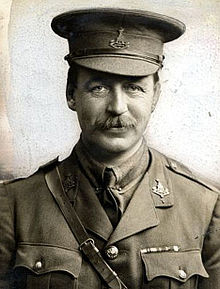
Allenby

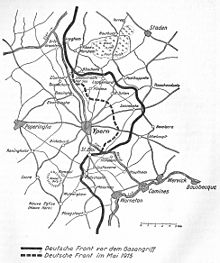
The Palestine campaign
In the two weeks following the capture of Beersheba the British had pushed some fifty miles north, to just short of Jerusalem, capturing 10,000 prisoners and 100 guns for the cost of about 1000 casualties. The EEF commander, Edmund Allenby, was now entitled to thumb his nose at Haig, who had fired him after the Battle of Arras a half year earlier, though of course a British officer would never do such a thing.
On the other hand, Allenby’s supply lines were now very long, all the way back to Gaza and beyond, the Turks having destroyed the infrastructure as they retreated, and transporting supplies from the railhead to the troops was slow business, given the state of the roads in Palestine. Logistics had always been a problem for organized armies, even before fuel, ammunition and shells were a constant need; a 10,000 man force required an absolute minimum of fifteen tons of food (in terms of grain) alone per day. Allenby had seven divisions (10-15,000 men each) on the front lines, and they needed a lot more than just food.
British question the locals
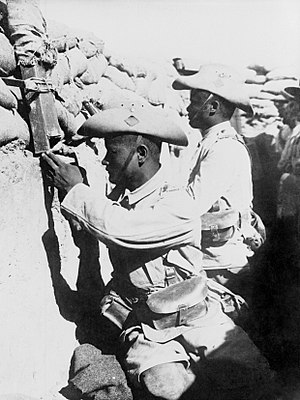
London felt that Allenby did not have the resources to capture Jerusalem, but he did not want to give the Turks the time to fortify their new line and on 18 November decided to go for it. One force began an advance to secure the coastal plain, while a second penetrated into the Judean Hills towards Jerusalem. Falkenhayn himself was determined to take advantage of the weakened state of the EEF and their precarious supply situation, and on 27 November he launched counterattacks on the coastal army and British communications between the coast and the hills. The British were hard pressed in some places, but fresh troops from the south and the weariness of the Turks allowed the offensive to continue. By 1 December the British were poised to capture Jerusalem.

Hong Kong artillery in Judea

Judean Hills near Jerusalem
Judean Hills
Gurkhas in Judea
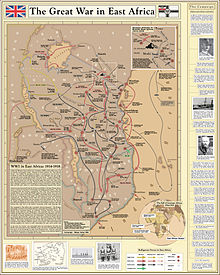
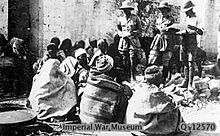
Remember the African branch of the war? On 23 November Lettow-Vorbeck, forced south by the overwhelming superiority of General Jacob van Deventer’s forces, divided his army into three columns and crossed into Portuguese East Africa (Mozambique). On the 25th he handily defeated an inexperienced Portuguese force at the Battle of Ngomano, but on the 28th one of the other columns was forced to surrender. Nevertheless, Lettow-Vorbeck and his merry band of Askaris now had rich opportunities for resupplying themselves at the expense of the Portuguese.

East Africa

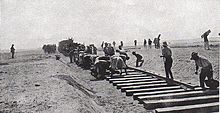
Portuguese troops on the Rovuma

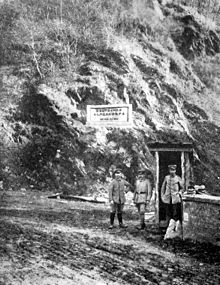
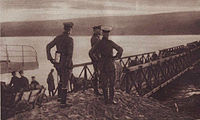
Crossing the Rovuma River into Mozambique

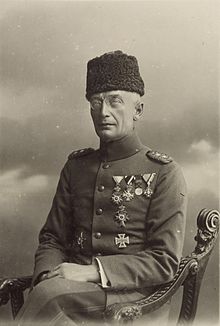
Paul von Lettow-Vorbeck
Two final notes: on 16 November Georges Clemenceau became the French Prime Minister, which office he would hold until 1920, and on the 28th Estonia, former subject of the Russian Empire, declared its independence.

Clemenceau
|
|
|