Spring Offensive
Operation Blücher-Yorck (the Third Battle of the Aisne) came to an end on 6 June, having brought the Germans within 35 miles of Paris. But no decisive breakthrough had resulted, and Ludendorff was determined to take one more shot before the front was overwhelmed with Americans. On 9 June he launched Operation Gneisenau (the Battle of the Matz), essential a continuation of Blücher-Yorck, still hoping to draw more Allied troops south from Flanders, but though the Germans advanced nine miles in a few days, a surprise French counterattack (no preliminary bombardment) at Compiègn on 11 June halted the thrust and the operation was cancelled on the 13th. Those four days cost the Germans 30,000 casualties and the Allies 35,000.

Operation Gneisenau
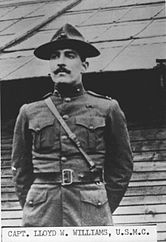
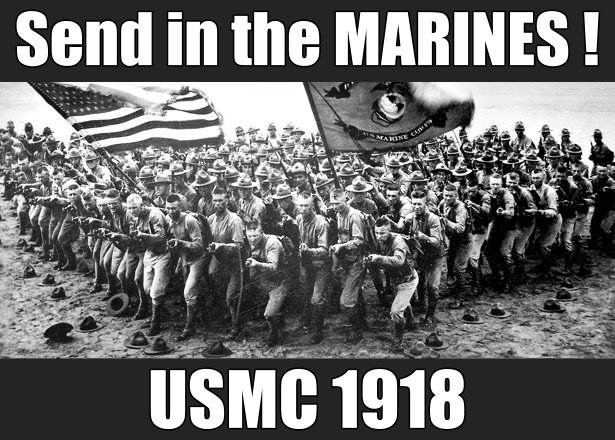
June also saw more American action on the Western Front. On 2 June American units, including a battalion of Marines, occupied a 12 mile stretch of the front before Belleau Wood, about half a dozen miles west of Château Thierry. The following day they easily repelled a German assault, ignoring the French, who were retreating; said Marine Captain Lloyd Williams “Retreat? Hell, we just got here.” On 6 June the Allies launched a limited offensive in the area, assigning the now enlarged contingent of Marines several objectives, including Belleau Wood, where a regiment of Germans were well entrenched. Unfortunately, the Marines were unaware of this.

Marines and poilus
Captain Williams

Belleau vicinity
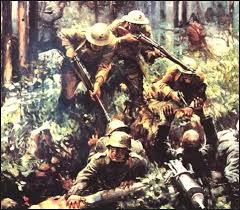
Belleau Wood

Belleau Wood
Many Marines were mowed down in the wheat fields surrounding the woods, but they achieved their phase one objectives nevertheless. Late in the afternoon two Marine battalions moved on Belleau Wood, which meant once again crossing a field raked by machine gun fire, prompting Gunnery Sergeant Dan Daly to yell to him men “Come on, you sons of bitches, do you want to live forever?” Sure enough, the first waves were slaughtered, but the Marines managed to reach the Wood and secure a position, engaging the Germans in hand-to-hand combat. In terms of casualties this was the worst day for the Marine Corps up to this time.
Killing Germans

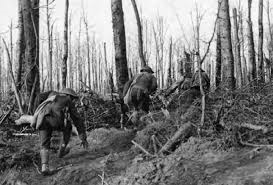
Chasing Germans
In Belleau “Wood”
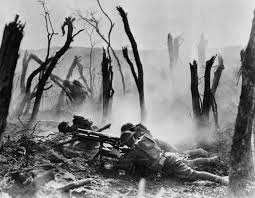
In Belleau “Wood”

Sergeant Daly
The situation now settled into a stalemate of bloody attack and counterattack, until after six American assaults the Wood was finally cleared of Germans on 26 June. The Americans suffered 9777 casualties, while apart from 1600 captured German losses are unknown. Belleau Wood was of course a relatively trivial episode on the Western Front (which is why this report is late – I thought it was in July), but it confirmed for the Allies and the Germans that the Americans, who were now flooding into France, were for real. And that an American Marine with a rifle was an awesome weapon.
x
Down in sunny Italy the Allies scored another defensive victory. On 15 June the Austrians launched an offensive along the middle and eastern portions of the front, the Second Battle of the Piave River. The Austrians had been reinforced by German divisions freed up by the surrender of Russia and trained in the assault tactics of the Western Front, but disagreement between the two army group commanders, General Franz Conrad von Hötzendorf (west) and General Svetozar Borojević (east), resulted in a broad offensive rather than the narrow attack that had been so successful at Caporetto.
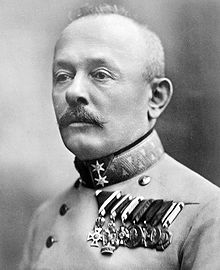
Borojević

Hötzendorf
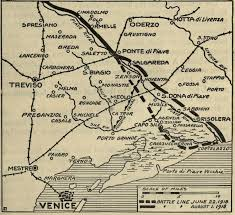
Second Battle of the Piave River
Things were also different across the Piave. General Luigi “Isonzo” Cadorna had been replaced with Armando Diaz, who had learned a few things from the Caporetto disaster: he developed a defense in depth without a continuous trench line, a decentralized command system that allowed tremendous flexibility and small unit autonomy and a central reserve of thirteen “motorized” (they had trucks) divisions. He had also received eleven British/French divisions, but most were called back west when the German Spring Offensive kicked off.

Diaz
Buoyed by the victory at Caporreto and the prospect of knocking Italy out of the war, the Austrians attacked at 3:00 AM. Unfortunately, the Italians had discovered the precise time of the assault and at 2:30 AM began raining shells on the troops packing the forward trenches, sending many reeling back to defensive positions. In the west Conrad made some small gains on the Asiago Plateau, but he was driven back the following day and spent the rest of the offensive making pointless attacks with his dwindling forces. Borojević, on the other hand, was able to establish a substantial bridgehead along fifteen miles of the lower Piave to the Adriatic, threatening Venice, but the growing difficulty of getting men and supplies across the swollen Piave, whose bridges were continually bombed by the Italians, proved too much to overcome.

Waiting for the Austrians

Waiting…
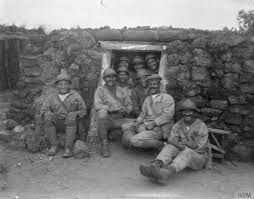
Waiting…
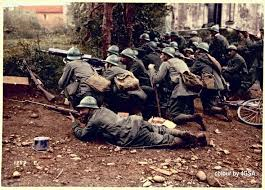
Waiting…in color
On 19 June the Italians counterattacked, and while Borojević avoided a disaster, he was ordered by the Emperor to withdraw, and the Italians recovered all the lost territory by the 23rd. Diaz immediately came under heavy pressure from the Allied command to go on the offensive, but he understood well that his forces needed to be reorganized and that crossing the Piave would put him in precisely the same circumstances Borojević had suffered. The offensive cost the Austrians 118,000 casualties, the Italians 87,000, nothing new on the Italian front, but though few could have guessed at the time, the Second Battle of the Piave River was the last real offensive of the Austro-Hungarian Empire, a state whose political core stretched back to 800 and Charlemagne’s Holy Roman Empire.

On to victory, Italia!
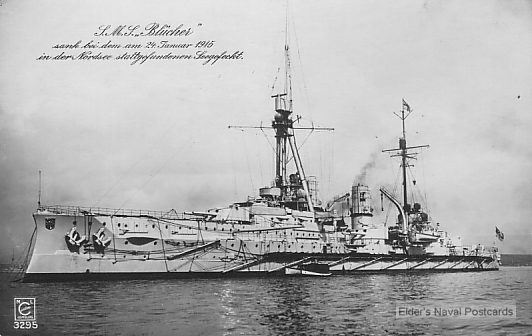
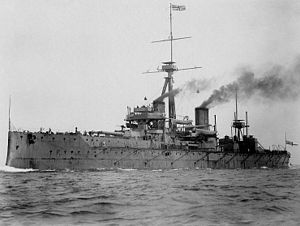
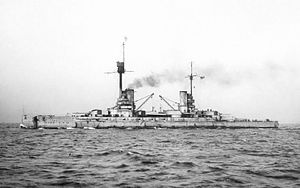
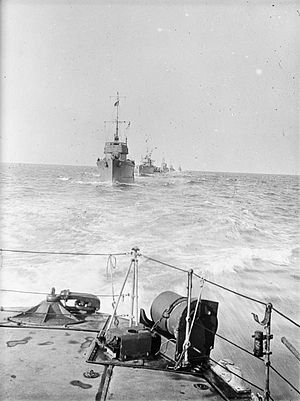
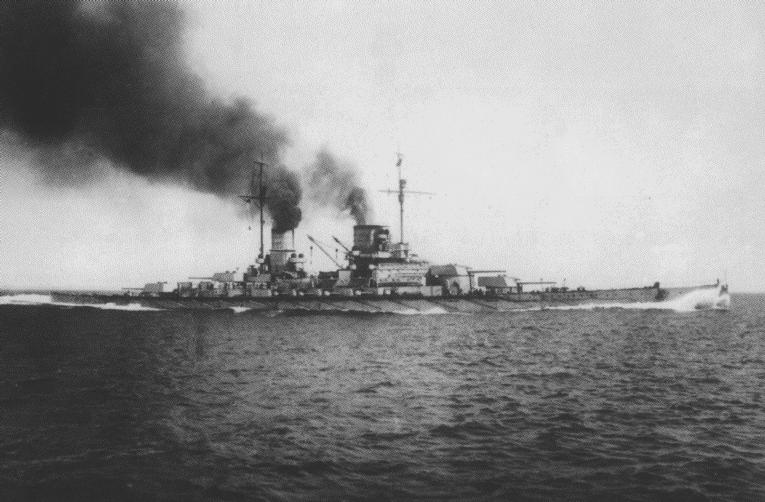
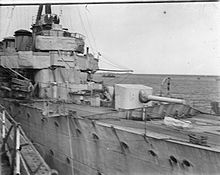
Perhaps symbolic of the impending end of the Empire was an event that took place the very day the Piave offensive began. The commander of the Austrian navy (and future dictator of Hungary), Miklós Horthy, decided to challenge the Otranto Barrage, the Allied blockade of the Strait of Otranto, which had kept the Austrian surface fleet bottled up in the Adriatic. Under cover of darkness Austria’s four most advanced battleships left their base at Pula on 8 and 9 June, but before the two squadrons could unite SMS Tegetthoff and SMS Szent István were discovered by two Italian motor torpedo boats early on 10 June. One went after the Tegetthoff and missed, but the other – MAS 15 commanded by Luigi Rizzo – put two torpedoes into the Szent István at 3:20 AM.
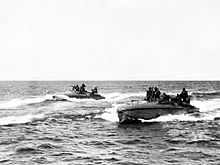
Italian torpedo boats
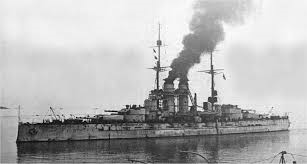
SMS Szent István

Admiral Horthy
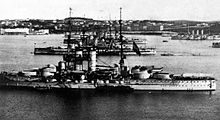
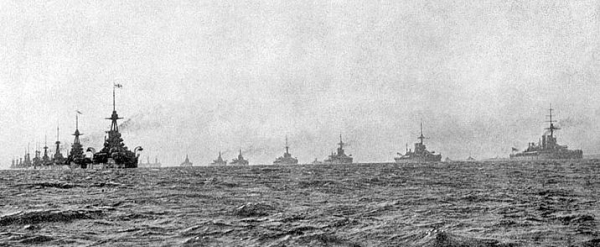
Austrian dreadnaughts at Pula

The Adriatic Sea today
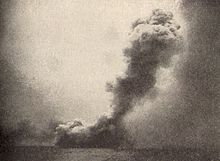
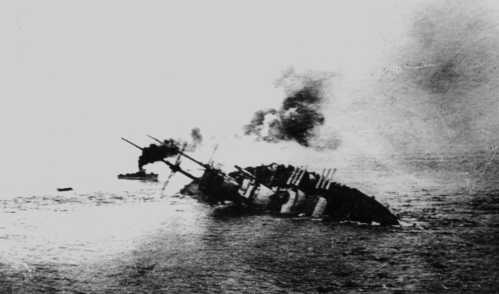
The aft boiler room quickly flooded and the ship began listing to the starboard. All efforts to counter the list failed, and soon the forward boiler room began flooding, ending power for the pumps. The Szent István was doomed, but no order was given to abandon ship, and as the battleship settled further into the water, the event was filmed from the Tegetthoff (watch the movie: https://www.youtube.com/watch?v=5pSiCjfhUUw), while the ship’s band played the Austrian national anthem. The ship capsized and slid beneath the surface at 6:05 AM, losing only 89 men out of a complement of 1094 – contrary to usual practice Austro-Hungarian sailors had to learn to swim. And like the Szent István, the doomed Austro-Hungarian Empire was slowly slipping beneath the waters of history, to disappear forever. (Well, actually the Szent István was found in the 1970s.)
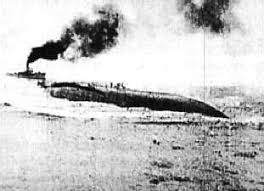
…and down

Luigi Rizzo

MAS 15

Going down…

SMS Szent István today
Meanwhile, the Allies were being sucked further into the Russian Civil War. British marines landed at Pechenga in Murmansk province on 4 June, and three days later another British force arrived at Kem in Karelia on the White Sea. With German troops in Finland the Allies feared that war stocks in northern Russia would be captured, and they also wished to rescue the Czech Legion (which took the key Siberian city of Omsk just as Tommies were disembarking at Kem). This of course meant inevitable confrontation with the Bolsheviks, who on 8 June ordered the western forces to leave. They responded on 24 June by sending more troops to join the North Russia Expeditionary Force already at Murmansk and a week later seizing the northern part of the Murman Railway (now the Kirov Railway), which linked Murmansk to St. Petersburg. American doughboys would soon be joining them.

At Murmansk

Murman Railway

At Murmansk

Murmansk