(If you want more on the end of the fighting, try Joseph E. Persico, Eleventh Month, Eleventh Day, Eleventh Hour, an excellent read. Note: though the hostilities are ending, the war is not, so there will be a few more Reports.)
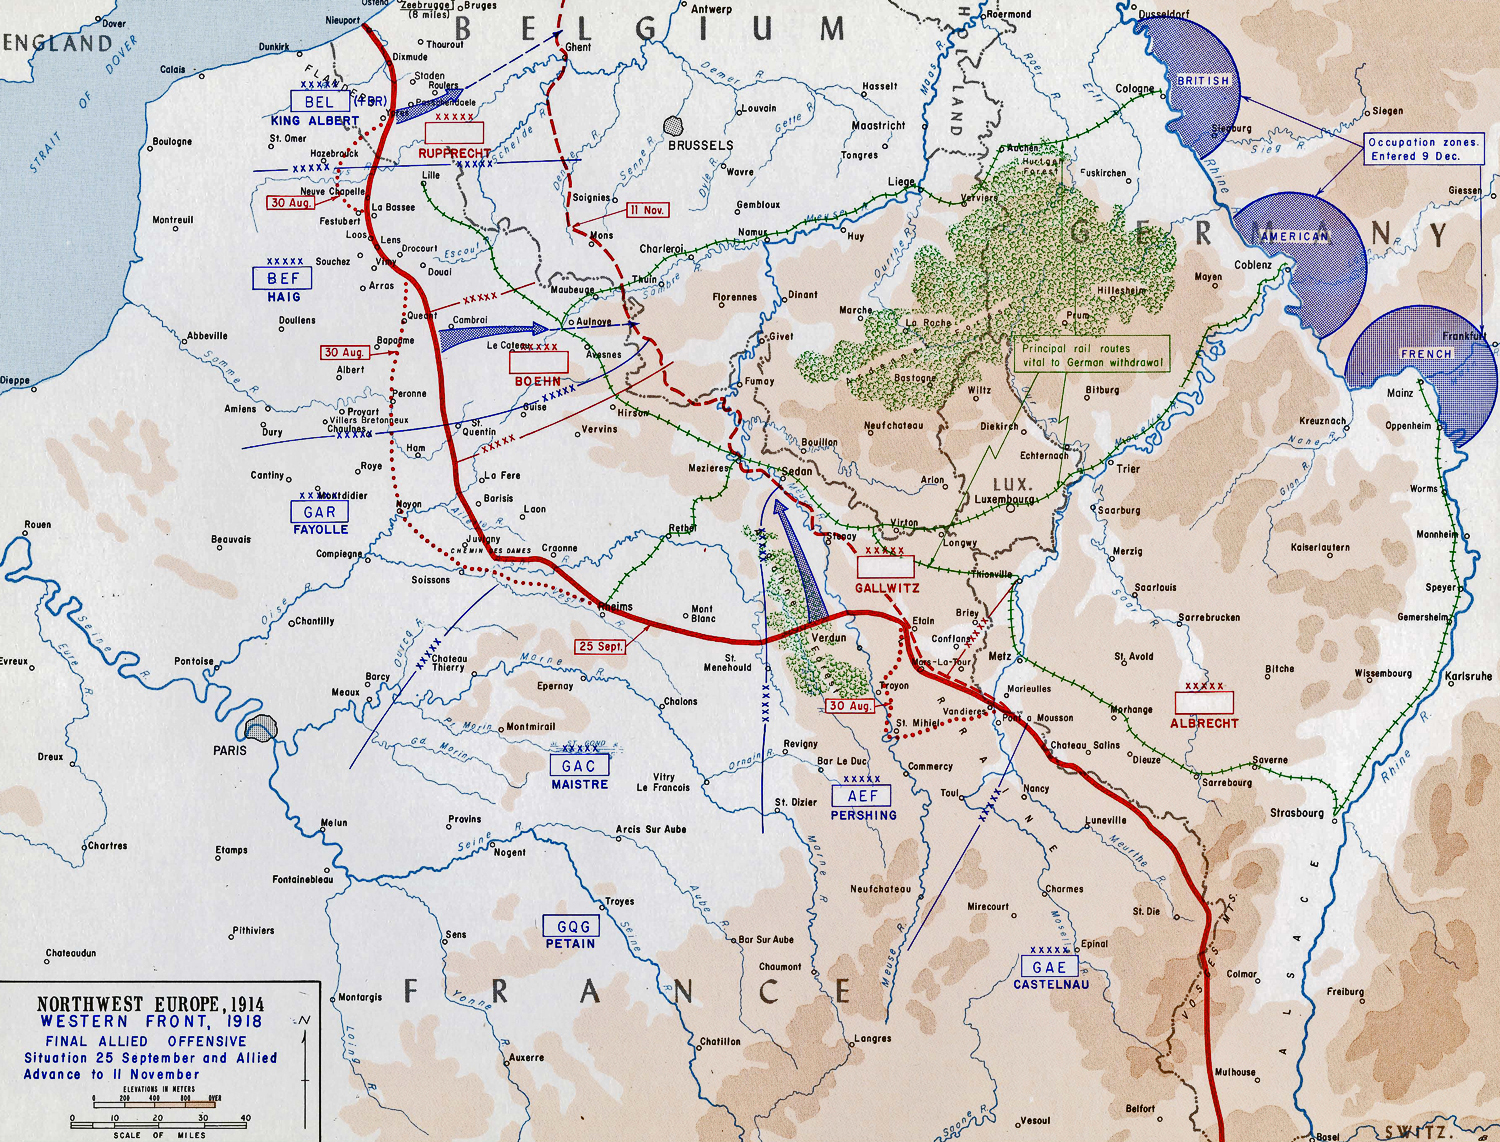
It is a crime that operations continued on the Western Front when the Germans were clearly defeated and begging for an armistice. The Allies already held all the cards, but they were wrangling among themselves. The French, British and Italians were less than enthusiastic about Wilson’s Fourteen Points with their emphasis on self-determination and drawing boundaries according to ethnicity; they already had secret treaties and plans for the post-war environment that satisfied their own interests. Nevertheless, thousands of men would have to die when the war was obviously over. So the Battle of Valenciennes began on 1 November and ended with capture of the city on the 3rd, and on 6 November the Americans took Sedan. On 5 November Marshal Foch was made supreme commander of all forces fighting against Germany.
The end
To the southeast the Serbians retook Belgrade on 1 November, and King Peter I returned three days later, to be crowned King of the Serbs, Croats and Slovenes (at least until 1921). The Italians seized Trieste on 3 November, and a day later the Battle of Vittorio Veneto came to an end; the Austrians suffered 80,000 casualties and some 450,000 prisoners, the Italians and allies about 40,000 casualties. And that same day all hostilities between the collapsing Austro-Hungarian Empire and the Allies ceased, and the Italians occupied not only the territory they had lost but also the North Tyrol, Innsbruck, Gorizia, Istria and Dalmatia.

King Peter I

Italians landing in Trieste
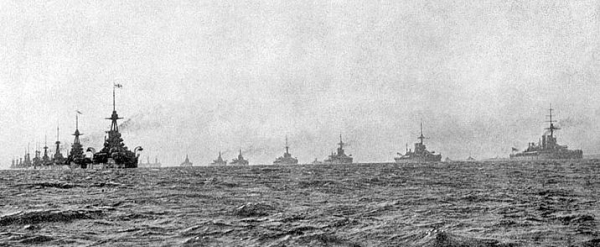
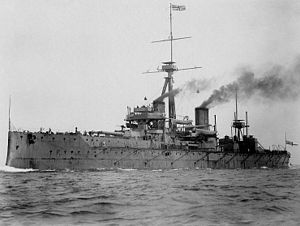
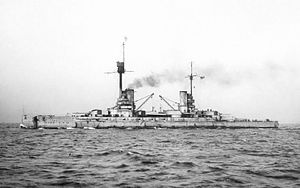
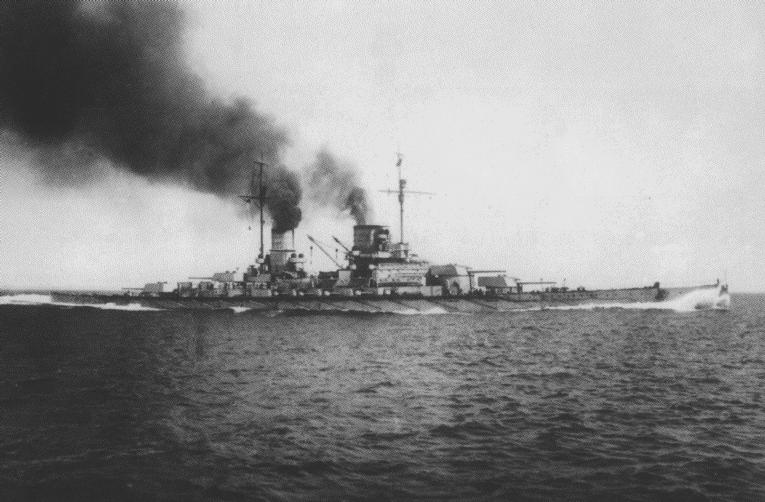
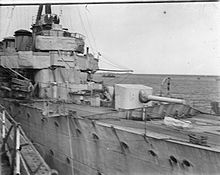
The end was also coming for the German Empire, as revolts began breaking out across Germany. On 3 November the Allies finally agreed to the German proposal for an armistice, as mutiny was exploding among the sailors of the fleet at Kiel. On 24 October Admiral Franz von Hipper ordered preparations for a final battle against the British and moved part of the High Seas Fleet to Wilhelmshaven, where some sailors refused to obey orders or actually mutinied. The resistance was defused without violence and the ships returned to Kiel, but the sailors there were also not interested in sacrificing their lives for a pointless foray.

Admiral Franz von Hipper
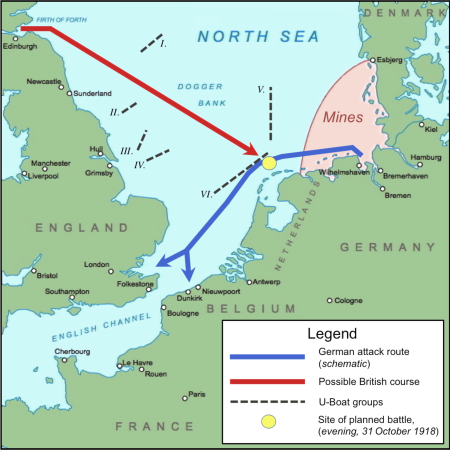
Hipper’s plan for the last battle
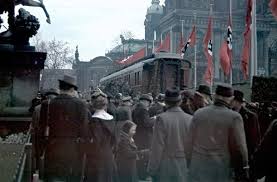
On 1 November 250 sailors held a meeting, which was followed the next two days by large open-air demonstrations, in which workers and civilians participated. Local troops fired into the crowd, killing some, and on the 4th more troops were sent in, but these soldiers either refused to obey orders or actually joined the revolt. By the end of the day some 40,000 sailors, soldiers and workers controlled Kiel and Wilhelmshaven. On 7 November Bavaria was declared a republic, and the revolt spread to Berlin two days later. The German Revolution had begun.

The Revolution begins
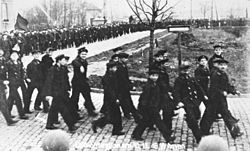
Sailors on strike
Reaction at the highest level followed quickly. On 9 November it was announced that the Kaiser would abdicate (the abdication was signed on the 28th), and the next day he went into exile in Holland, where he would remain until his death in 1941. The almost 900 year old Hohenzollern dynasty (at least as rulers) and the 47 year old Second Reich came to an end. On 12 November Emperor Karl I of Austria, no longer having an empire, was compelled to abdicate, and left for Switzerland in March 1919 and died in Madeira in April 1922. The thousand year old Holy Roman Empire and the 51 year old Austro-Hungarian Empire were gone; on the same day Karl abdicated a German-Austrian republic was proclaimed.
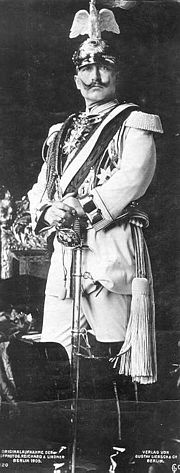
Wilhelm II
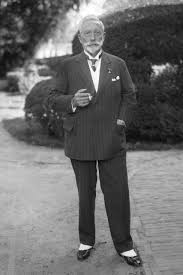
The now dapper Kaiser in exile
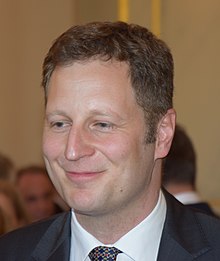
Prince Georg Friedrich, current heir to the Prussian throne

Karl I
Karl von Hapsburg, current heir to the Austro-Hungarian throne
And the war was finally ending. On 3 November Austria agreed to the Armistice of Villa Giusti with the Allies, which effectively ended the war for Austria, and on the same day the Allies accepted Germany’s armistice proposal. The German delegation arrived at the Allied General Headquarters and were ushered into a specially prepared railway car in the Forest of Compiègne (Foch wanted no press or angry Frenchmen present) on 8 November. They were informed by Foch that they had three days to consider the Allied demands, which were nonnegotiable, and with little choice – Germany was starving from the blockade – the armistice was signed at 5:10 am on 11 October. The war was over.

Allied leaders at the Wagon

The signing of the Armistice

The Wagon at Compiègne 1940
The Wagon in Berlin 1940
Well, not quite. The armistice would not take effect until 11:00 am, exactly at the moment Foch’s 72 hour deadline ended. Whether the Allied commanders considered a delay in order to come up with the nifty “eleventh hour of the eleventh day of the eleventh month” is unknown, but many professional soldiers, like Foch himself and General Pershing, who wanted their troops to keep fighting and gain ground that was already due to be handed over. Officers’ careers could still be furthered, and in the case of the Americans, even at the grunt level, there was still glory to be won. So, men continued to die.
In the six hours between the signing of the armistice and its implementation both sides suffered, conservatively, 11,000 casualties of which some 2700 were deaths. The last British soldier to be killed was George Ellison, shot in the vicity of Mons around 9:30, while the last Commonwealth soldier to die, Canadian George Price, bought the farm at 10:58 in an advance north of Mons. Augustin Trébuchon, the last poilu, was killed at 10:50 during an assault across the Meuse River, The man recognized as the last soldier to die in action in the Great War was an American, Henry Gunther, who in the last 60 seconds of the war charged at a German machine gun; the surprised Germans attempted to wave him off and finally cut him down. No one seems to know who the last German soldier was.
George Ellison

George Price

Augustin Trébuchon

Henry Gunther
The war in Africa, however, went on. Lettow-Vorbeck and his askaris in the bush were not exactly easy to contact, and on 1 November they invaded Rhodesia and took the town of Kasama on the 9th. Hostilities finally came to an end on 14 November, and the German force in Rhodesia surrendered on the 25th, two weeks after the armistice. By that time Lettow-Vorbeck’s army consisted of 30 German officers, 125 other ranks, 1168 askaris and about 3500 porters. They had led a quarter million Commonwealth troops on a merry chase for four years. Lettow-Vorbeck returned to Germany a hero, the only undefeated German commander, and though he was an ardent nationalist, he opposed Hitler, suposedly once telling the Führer to fuck hmself. He was given a state funeral upon his death in 1964.

Surrender of Lettow-Vorbeck

Lettow-Vorbeck in Berlin 1919

The Lion of Africa in 1935
Meanwhile, the Germans were going home. On 18 November the last German troops crossed the French frontier (they would be back in 22 years) and the Belgian frontier on the 26th (ditto). Brussels was reoccupied by the Belgian army on 18 November, followed three days later by the government. British and American troops crossed into Germany on 24 November, followed by the French two days later; the day before the French had entered Strasbourg in Alsace-Lorraine, lost to Germany almost 50 years earlier.
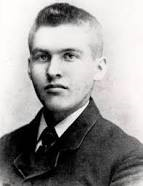
A peace treaty would not be signed until June 1919, but modern eastern Europe was already emerging from the ruin of the Austro-Hungarian Empire. On 1 November Hungary formed its first independent government, under Mihály Károlyi, and on the 16th declared the 400 year Hapsburg monarchy abolished and the establishment of the First Hungarian Republic. On 14 November Professor Masaryk was elected the first President of the Czechoslovak Republic, and on the 23rd the Yugoslav National Council voted for union with Serbia and Montenegro, which union was approved by the Montenegrin National Assembly on 29 November.
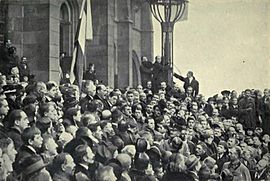
Proclamation of the Hungarian Republic

Czechoslovakia

Mihály Károlyi
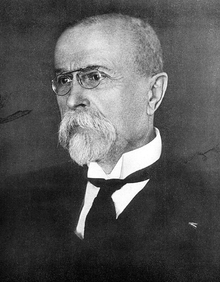
Tomas Masaryk

Austro-Hungarian Empire by ethnicity
All was now quiet on the Western Front, but violence continued in the east. On 1 November the new Second Polish Republic under Józef Piłsudski went to war with the momentarily independent Ukraine, seeking new territory in the east, especially Galicia. The war would end in a Polish victory in July 1919, when the Ukrainians would join Poland in the Polish-Soviet War that began in February 1919.

Poland March 1919
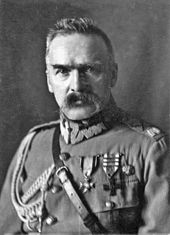
Józef Pilsudski
And there was the Russian Civil War, born of the Great War. On 18 November in Omsk Admiral Alexander Kolchak declared himself the Dictator of Russia and began collecting White forces to combat the Reds. To the west the other major White leader, Anton Denikin, had by November gained control of all the territory between the Black Sea and the Caspian Sea. It was beginning to appear that the Bolsheviks were doomed.

Alexander Kolchak

Anton Denikin
Finally, on 9 November the British and French issued a joint declaration regarding the disposition of the former Ottoman territories of Syria and Mesopotamia, a telling sign that they had their own agendas for the post-war world. President Wilson’s self-determination apparently did not extend to non-Europeans.
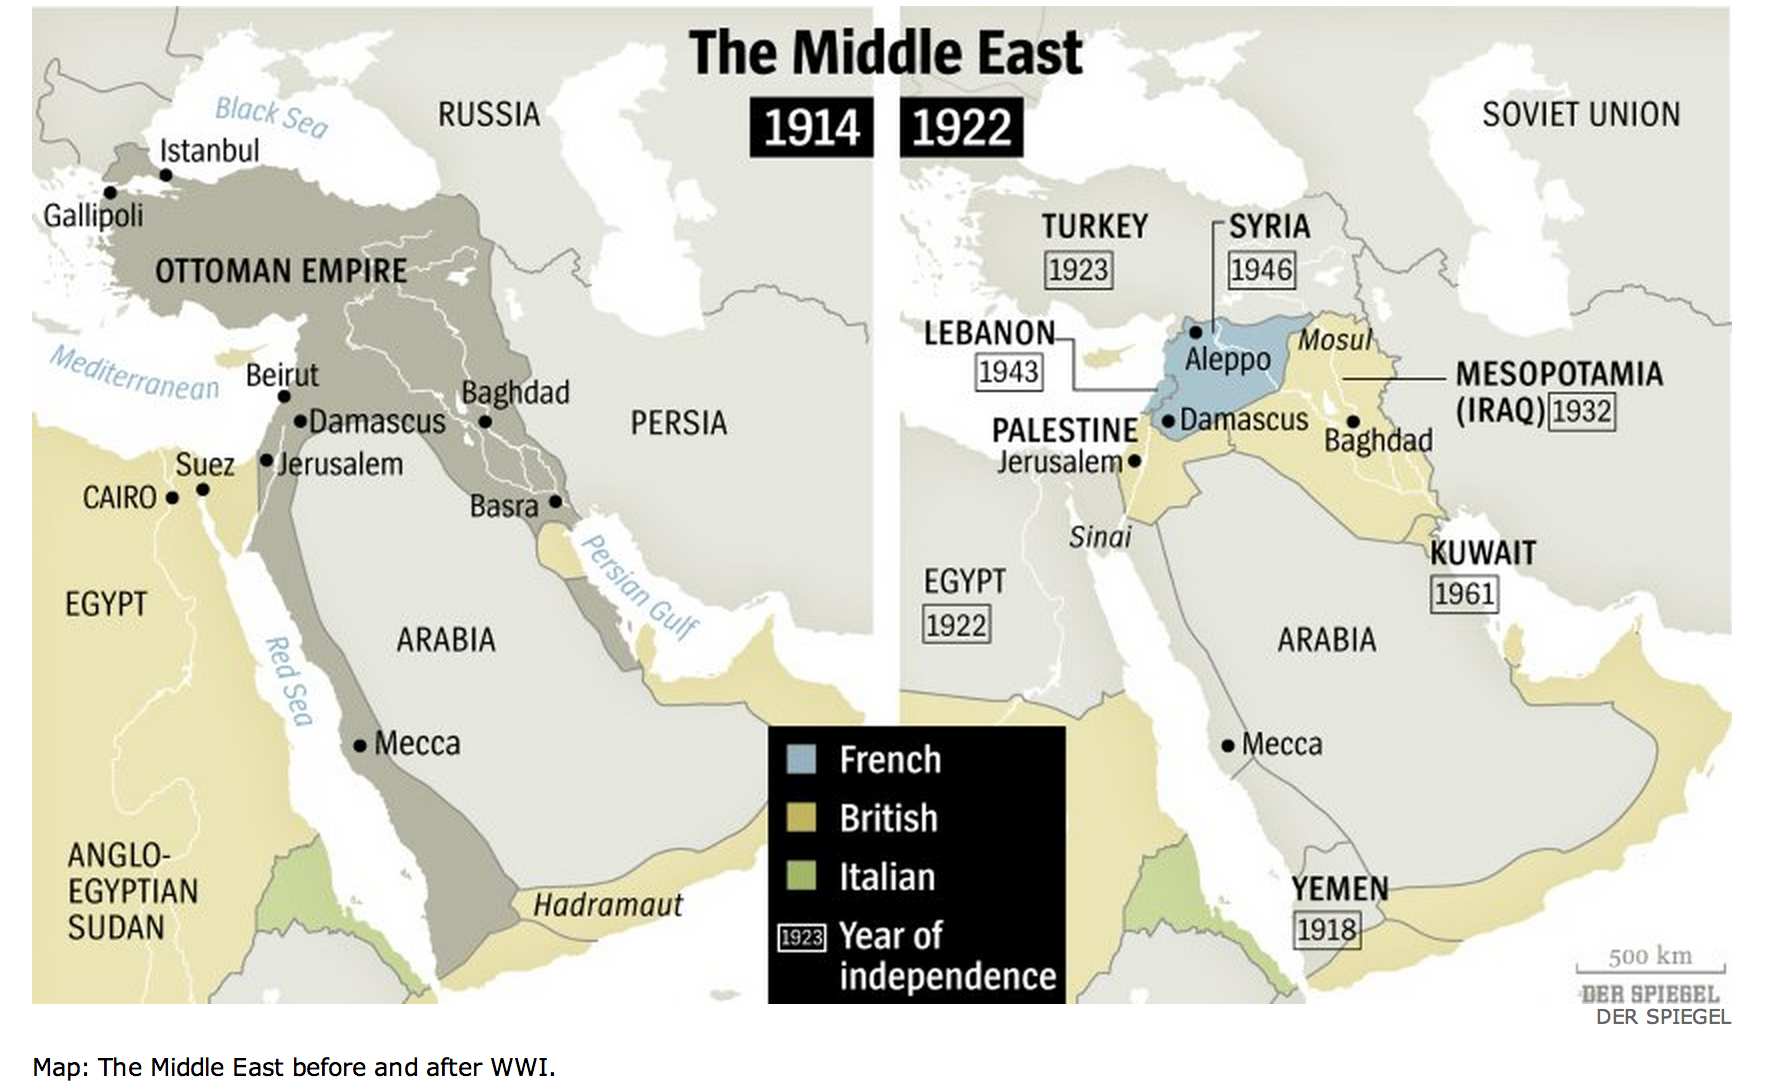
Disposition of the Ottoman Empire