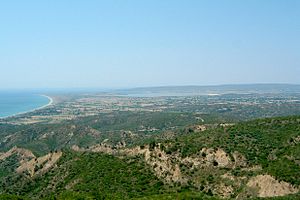
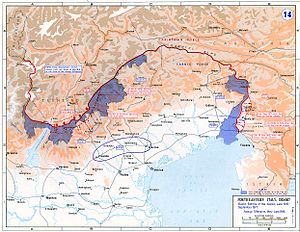
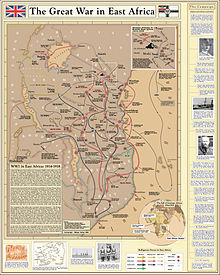
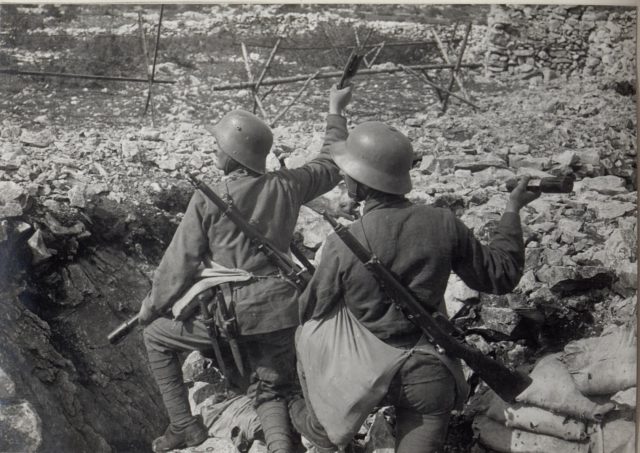
The area around Ypres
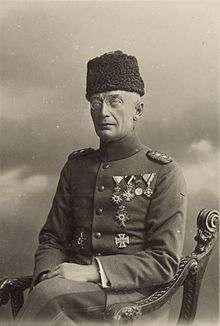
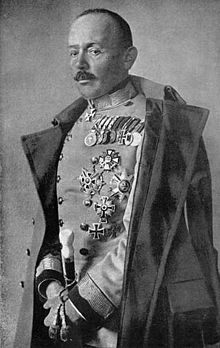
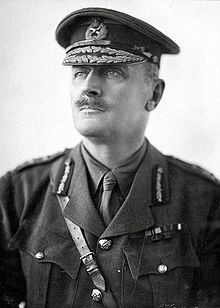
Third Ypres ground on. On 4 October ANZAC troops assaulted the Broodseinde Ridge, gaining the objective on the first day and further unsettling the Germans, who were having trouble dealing with the new allied leapfrog tactics. Unsurprisingly, the success led to arguments among the commanders about pushing further, but the presence of substantial German reserves behind the line and the usual difficulty of bringing up the artillery over the shattered battle ground sank that idea. General Herbert Plumer – in a Trumpian moment – called Broodseinde “the greatest victory since the Marne.” Tell that to the 20,000 commonwealth casualties.

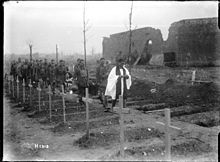
No mans land
Battle of Broodseinde
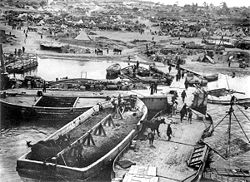
Bringing up the guns

Herbert Plumer
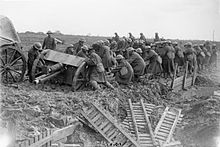
Next up in the Ypres Mud Fight was the Battle of Poelcapelle, an attempt by French and British units on 9 October to push half the way from Broodseinde Ridge to Passchendaele. But the “easy” victories were over. The heavy rains returned, and bringing up the artillery over blasted ground to secure gains was becoming incredibly difficult. As a result, the Allies were unable to hold most of the captured ground against German counterattacks, and the battle ended after a single day. Some 10,000 Allied troops were casualties, many drowned in shell holes; since the beginning of the month the Germans had suffered 35,000.

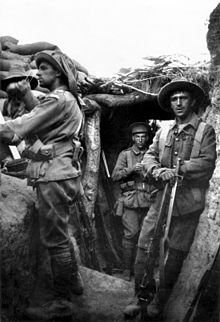
Typical Ypres terrain – Chateauwood

The road into Poelcapelle

Battle of Poelcapelle
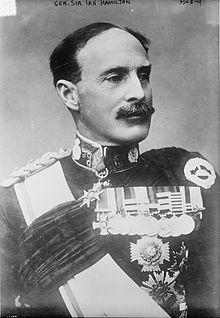
Three days later the Allies attacked again – the First Battle of Passchendaele – Generals Plumer and Haig mistakenly thinking that the earlier advance had been generally successful (that is how bad communications were). The result was a repeat of Poelcapelle, and the Brits and ANZACS suffered 13,000 casualties failing to take Passchendaele Ridge; it was perhaps the worst day in New Zealand military history.

The Butcher of the Somme
German losses for this specific battle are unknown, but it is clear that while the Ypres battles were gaining little ground, they were nevertheless inflicting heavy losses, which the Germans could ill afford. Two divisions being sent to Italy for the upcoming offensive went instead to the Ypres sector, and the commander of the army group covering the northern stretch of the Western Front, Crown Prince Rupprecht of Bavaria, had actually considered a withdrawal, which might have endangered the German position and submarine bases on the Belgian coast. This in fact was one of the Allied goals for the Ypres offensive.
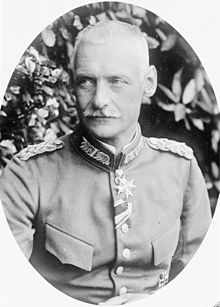
Crown Prince Rupprecht
Meanwhile, to the south the French opened the Battle of La Malmaison on 23 October. This was essentially a continuation of the Second Battle of the Aisne from back in April (remember the Nivelle Offensive?), and by 27 October the French had captured the Chemin des Dames Ridge in its entirety and the fortress town of La Malmaison – or what was left of it. It cost the French 14,000 casualties, the Germans 50,000.
Battle of Malmaisson
The Malmaison fort
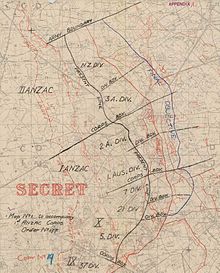
The last phase of Third Ypres kicked off on 26 October with the Second Battle of Passchendaele, a mostly Canadian affair. The aim was to seize the Passchendaele-Westrozebeke Ridge, both for observation advantages and in order to establish a winter defensive line on the drier high ground. The assault was to be executed in four limited advances separated by pauses, allowing time for guns and supplies to be brought up and fresh troops switched in after each phase.

On the road to Passchendaele

Same terrain a century later
The plan actually worked, though the slaughter and the endless mud made this battle just as unpleasant for the poor beggars on the ground as the earlier operations. The first two phases took place on 26 October and 30 October and were relatively successful, most of the Passchendaele Ridge being secured. The second two phases would take place in early November, but meanwhile disaster in Italy through a monkey wrench into the plans to capture Passchendaele itself.
Battlefield funeral

Morning at Passchendaele

Passchendaele before and after
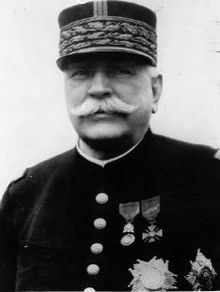
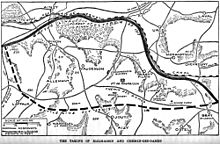
On 24 October the Twelfth Battle of the Isonzo began, but this one was very different from the previous eleven. This time it was the Austrians and Germans who attacked, not just at the Isonzo but all along the front from the Adriatic near Trieste west to the Trentino. The main thrust, however, was at Caporetto in the upper Isonzo valley, and the conflict is also known as the Battle of Caporetto (or Kobarid). And the German-Austrian forces fared a lot better than the incompetent Luigi Cadorna.

Battle of Caporetta
Field Marshal Hindenburg had already decided Austria needed help, despite the objections of the man who was increasingly in control, Quartermaster General Erich Ludendorff, who probably realized the Italian Army was presently incapable of any serious offensive. Caporetto was chosen because it controlled an excellent road into the Venetian plain (a chemist also declared the valley perfect for a gas attack), and the new 14th Army, nine Austrian and six German divisions under General Otto von Below, would spearhead the assault, which would ultimately send some 350,000 troops against 875,000 Italians. Overall command of the Isonzo Army Group was in the hands of General Svetozar Boroević, the Croatian (!) commander who had halted all of Cadorna’s offensives. Unlike his opponent, who was despised by his men, “our Sveto” was loved by his and known as the “Knight of Isonzo.”

Our old friend, Luigi Cadorna

Otto von Below
Svetozar Boroević
The offensive began with a massive gas barrage (chlorine-arsenic and diphosgene), which in the absence of wind settled into the valley, and Italian troops began fleeing, knowing that their gas masks would function only for a couple of hours. A subsequent artillery bombardment hit the now lightly defended fortifications, and von Below’s troops poured into the valley, their flanks protected by Alpine units that secured the heights. The infantry penetrated 16 miles in the first day, and while the Italians managed to block the attacks flanking the main group, the Italian army was reeling. Rushing in troops from other sectors only led to more Austrian assaults along the entire front.
Caparetto
The situation was not helped by General Cadorna, who failed to appreciate the seriousness of the situation and the already low morale of his men, much of it the fault of his own ineptitude and harsh methods. General Luigi Capello, commander of the 2nd Army, which was the target of the main thrust, almost immediately asked to withdraw to the Tagliamento River but was refused by Cadorna, leading to the surrender of more Italian troops. By 28 October the offensive had reached Udine, and two days later Cadorna called for a retreat across the Tagliamento, which took four days. Italy was on the verge of collapse.

Italian prisoners

Waiting for the offensive
German assault troops
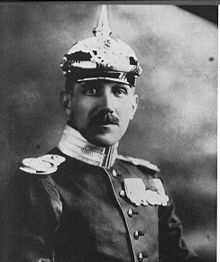
Incidentally, active in the battle was a young first lieutenant commanding the Royal Wurttemberg Mountain Battalion: Erwin Rommel. In 52 hours from 25 to 27 October the 27 year old Rommel and his 150 men captured some 9000 enemy troops and 81 artillery pieces, suffering only six dead and 30 wounded. He would later be awarded Germany’s highest military award, the Pour le Mérite.

The young Rommel
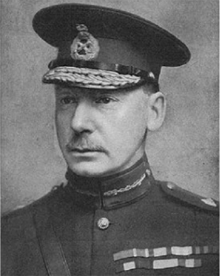
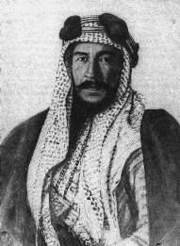
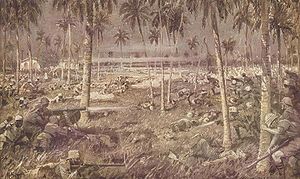
Meanwhile, the Southern Palestine Offensive (Third Battle of Gaza) began on 31 October with the Battle of Beersheba, the eastern anchor of the Turkish line from Gaza. The small town was well guarded by trenches and outlying strongpoints, and Fevzi Çakmak Pasha, commander of the 7th Army, which was responsible for the eastern section of the Gaza-Beersheba line, had some 4500 men available, though not all were at Beersheba. General Edmund Allenby, commander of the Egyptian Expeditionary Force, had some 50,000 men and in a complex operation (water was the major problem) intended to assault the town from the west with infantry and from the east, where there was no wire or horse traps, with mounted troops. Beersheba was encircled and attacked and captured in a single day.

Fevzi Pasha
Edmund Allenby

Battle of Beersheba

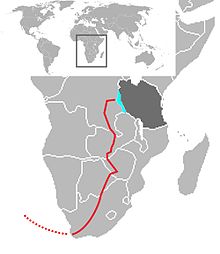
Palestine front
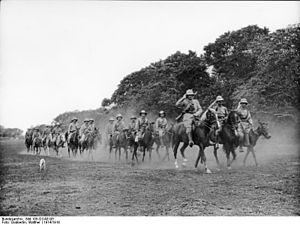
While the Battle of Beersheba marks the first Allied victory in Palestine and would lead to breaking the Turkish Gaza line, it is better remembered for the last effective cavalry charge in history. Coming from the southeast, the Australian 4th Light Horse Brigade had traveled over 30 miles of desert to reach the town by dawn, and near 4 PM they were ordered to take the town. The 4th and 12th Light Horse Regiments began their advance at about 4 miles from the town and began taking fire at 2 miles, but help from supporting artillery and the speed (and surprise) of the charge minimized Turkish effectiveness. Leaping across the trenches, the 4th and some of the 12th dismounted and began shooting at the Turks from the rear, but the bulk of the 12th, armed with bayonets in place of lances or swords, rode into Beersheba and captured it.

Australian Light Horse

Beersheba

Beersheba
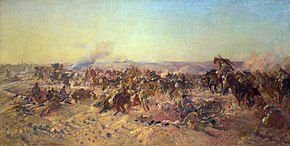
Charge of the Light Horse
(As it happens, the last major cavalry charge took place in 1942. On August 23 on the Eastern Front 600 Italian horse, armed with sabers and grenades, charged a formation of 2000 Soviet infantry and actually dislodged them from their positions.
In miscellaneous news from October, on the 11th the German navy began operations against the Baltic Islands, capturing them all by the 20th and sinking a Russian battleship in the process. In early October Peru and Uruguay cut diplomatic relations with Germany (Costa Rica did so in September), and on the 26th Brazil declared war, fed up with German submarines sinking Brazilian merchant vessels. In 1918 a (relatively) sizable Brazilian force would actually travel to France.
Brazil declares war
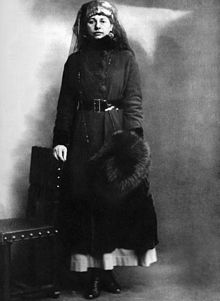
Finally, an event everyone has heard of: on 15 October Mata Hari was shot by a French firing squad. Margaretha Geertruida Zelle was born in the Netherlands and in 1905 began a highly successful career as an exotic dancer in Paris, eventually becoming the mistress of a French millionaire. Believing her to be the ultimate femme fatale that she would become in legend, in 1916 the French Deuxième Bureau recruited her as a spy, hoping she could seduce German Crown Prince Wilhelm, who had enjoyed her performances before the war, and wheedle military information out of him.

Mata Hari in 1905

And again
The problem with this was that although the Crown Prince was the commander of an Army Group, he relied completely on his staff, inasmuch as he had never directly commanded anything larger than a regiment. More stupidity in a war filled with it. In late 1916 Zelle contacted the Germans in Madrid and offered them French secrets (of which she had none), either for money or to engineer a meeting with the Crown Prince. In January of 1917 the German military attaché in Madrid sent to Berlin a message about Zelle’s activities as a spy in a code that was known to have been broken, perhaps because Germany military intelligence was fed up with her.

Crown Prince Wilhelm
Zelle was arrested in Paris on 13 February and subsequently convicted of espionage in a joke of a trial. In the wake of the French army mutiny and the failure of the Nivelle Offensive a foreign spy was an extremely convenient scapegoat for the political establishment, which apparently determined to seize the opportunity. There was no concrete evidence against her and her defense attorney was forced to operate under serious limitations, but destined to serve political ends, she was convicted and shot. A naïve woman, seduced herself by French intelligence, had to die for the glory of France. The records of the proceedings and trial were sealed until October 2017, by which time the perpetrators of the crime would be safely dead.
Mata Hari when arrested
And the war went on.