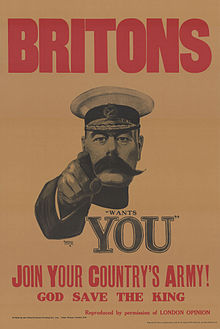
On the Western Front July 1916 began with a bang, literally, as nineteen massive mines buried under German lines were exploded by the British to kick off the long-awaited Somme Offensive. The mines, many begun the previous year, contained a total of 210,800 pounds of high explosive, which together constituted one of the biggest non-nuclear blasts in history. Three of the mines were behemoths: Hawthorn Ridge at Beaumont-Hamel (40,600 lbs.) and Y Sap and Lochnagar at La Boisselle (40,000 and 60,000 lbs. respectively); Lochnagar was believed to be the loudest man-made noise up to that time, heard as far away as London. Impressive, but they did not substantially aid the offensive.

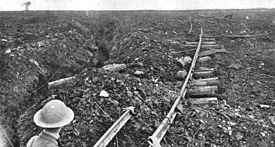
Mine tunnel

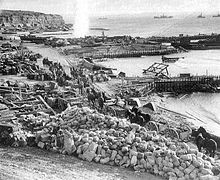
Lochnagar crater today

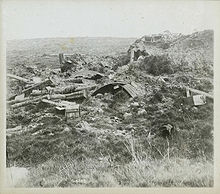
Hawthorn Ridge mine

Hawthorn Ridge crater

Lochnagar crater
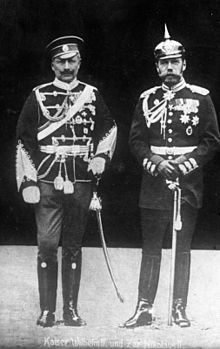
The Somme Offensive had been in the works since 1915 and was intended to be a primarily French operation with the British in support, but the German assault at Verdun had drained away French troops and it was British/Commonwealth forces that ended up bearing the brunt of this Big Push. The section of the trench line north and south of the Somme River, defended by General Fritz von Below’s Second Army, was chosen by Joffre for the attack, though it is not at all clear why. There was no particular strategic importance to the area, and because it had been quiet since 1915, the Germans had been busy increasing the stiffness and depth of their fortifications.

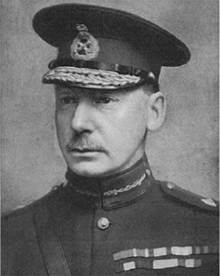
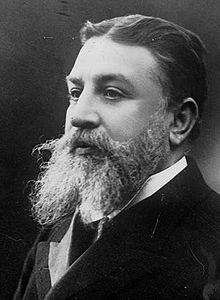
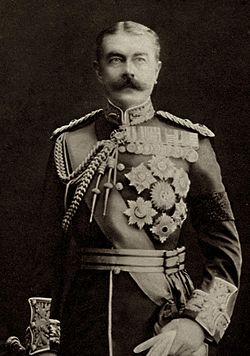
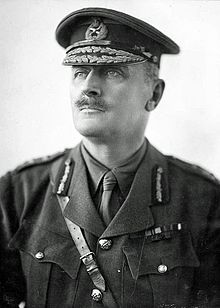
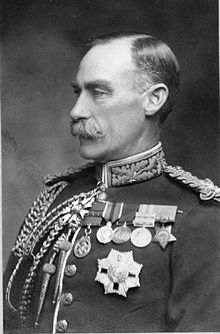
The Butcher of the Somme
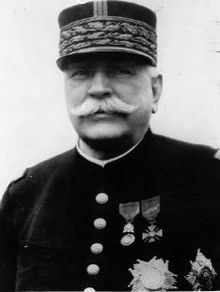
Papa Joffre

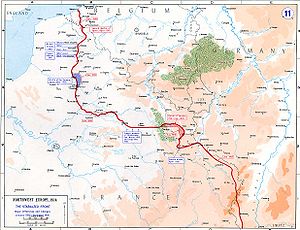
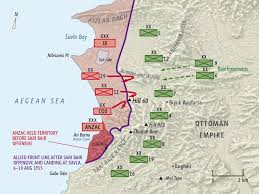
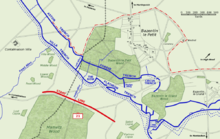
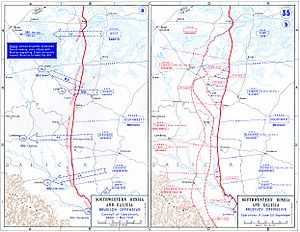
Somme Offensive
Haig of course went right along with this, delighted it would be primarily a British show. Eleven divisions from General Henry Rawlinson’s Fourth Army would attack in the area of Albert, supported on their left flank by two divisions of General Edmund “Bloody Bull” Allenby’s Third Army; the right flank would be covered by five divisions of the French Sixth Army on both sides of the Somme. (Joffre had originally planned on 40 French divisions.) The goal was the seemingly mythical “breakthrough,” which would allow forces (including all available cavalry!) to head for Douai and Cambrai. The Allies had air superiority, a factor that was gaining in importance.
Edmund Allenby
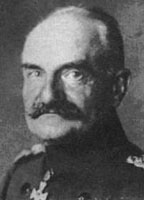
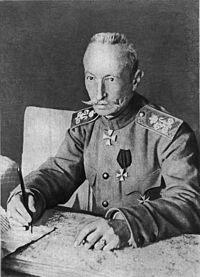
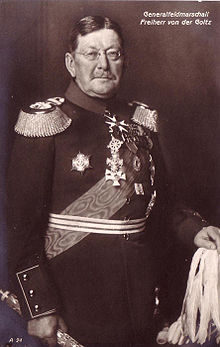
Fritz von Below

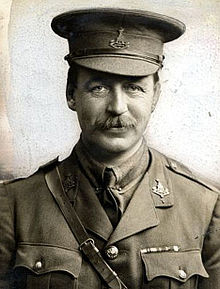
Henry Rawlinson
The Somme Offensive was in actuality a series of thirteen more or less distinctive named battles that stretched on into November. The initial attack, the Battle of Albert (1-13 July), pushed the Germans into a substantial withdrawal south and north of the Somme, but the Commonwealth forces in the center got nowhere against the Germans on higher ground. It was in fact a disaster. The British suffered 57,470 casualties (19,240 killed) on the first day; their total casualties in the next eleven days were c. 25,000. 1 July 1916 is acknowledged as the worst day in the history of the British army.
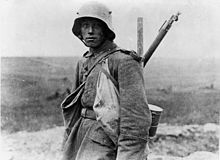
A German Sommekämpfer

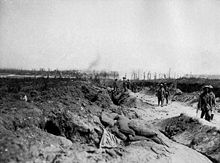
Tommys advancing in the Somme Offensive
The fault can be pinned on Haig and Rawlinson, who believed (like most high commanders) that a heavy barrage would take out the machine guns and wire. Perhaps against their own trench line, but not the deep triple lines and reinforced bunkers of the busy Germans. The defenses were virtually intact, and the slow-moving British infantry were annihilated. Two subordinate commanders were sacked (for not pushing their men harder!), but as historian Martin Middlebrook later put it, “Haig and Rawlinson were protected by the sheer enormity of the disaster.” To fire or criticize them would be a PR disaster – and the offensive went on.

Indian cavalry at Bazentine
Battle of Bazentine Ridge
But it now comprised more limited engagements and objectives, as the Allies encountered nasty fighting in fortified villages and dense woods. The Battle of Bazentin Ridge (14-17 July) went better than the original offensive, pushing out a thousand yards and capturing Bazentine le Petit, but further advance was foiled by the confusion and poor communications, frequent companions of Great War offensives.

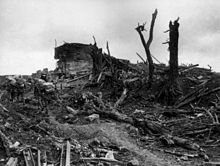
Delville Wood 14 July

Delville Wood 15 July
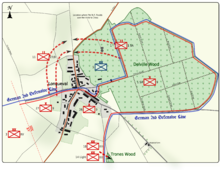
Delville Wood 16 July
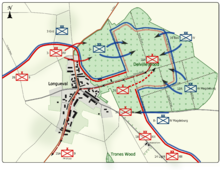
Delville Wood 18-20 July
Meanwhile, a bit to the southeast the Battle of Delville Wood (14 July – 15 September) resulted from the effort to secure the right flank of the force in Bazentine, and on the first day the First South African Brigade, making its Western Front debut, seized most of the wood. The Germans counterattacked, and by 20 July when British attacks rescued the remnants from the wood, the South African brigade had virtually ceased to exist.

Battle of Delville Wood
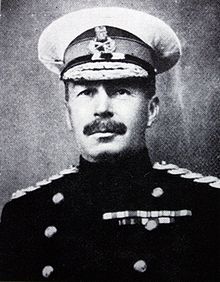
South African General Henry Lukin
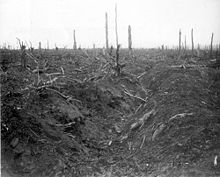
Delville Wood
The Battle of Fromelles (19-20 July) actually took place some fifty miles north of the Somme and was a small scale operation designed to take advantage of weaknesses brought on by the transfer of German troops to the Somme. Well, there were none in this bit of the line, and the two divisions in fact attacked a ridge defended by twice their number, suffering 7080 casualties to the German’s 1500-2000. The Australian Fifth Division, also making its first appearance on the Western Front, suffered 5533 of those casualties; the battle was later described as “the worst 24 hours in Australian history.’ For what?
The last Somme engagement to be initiated in July was the Battle of Pozières Ridge (23 July – 7 August), which was the only part of a general offensive north and south of the Somme to have any success. Pozières was a village two miles northwest of Bazentine, and its capture would isolate the Germans in the fortified village of Thiepval. The Australian First Division took the village immediately, but inasmuch as the rest of the offensive promptly collapsed into uncoordinated mini-engagements, the Aussies became the center of attention of the German artillery and suffered huge casualties. The German counterattack would come at the beginning of August.
Pozières plateau
Road to Pozières
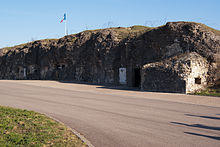
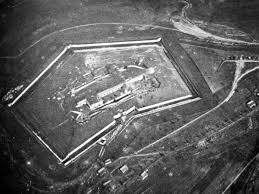
Pozières- captured German bunker
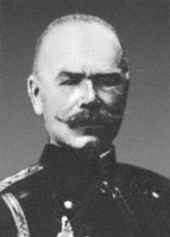
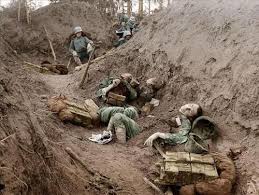
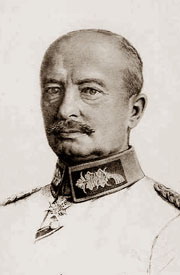
Meanwhile, on the Eastern Front the Baranovichi Offensive in what is now Belarus finally began. The commander of the Western Army Group, Alexei Evert, had resisted going on the offensive in June as the northern wing of the Brusilov Offensive, perhaps because he remembered the disaster of his Lake Naroch Offenisive back in March. But the supreme Command insisted, and on 2 July 410,000 troops of the Russian Fourth Army attacked 70,000 Germans of the Ninth Army. When the on and off offensive finally ended on 29 July, the Russians had gained no ground and lost 80,000 men to the German 13,000. Is it any wonder revolution was brewing?
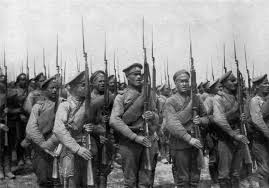
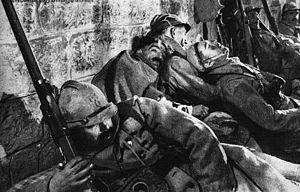
Evert’s men – future corpses and revolutionaries

Alexei Evert
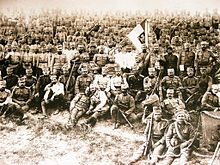
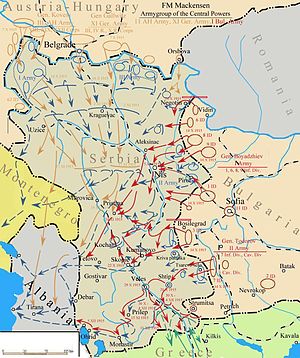
In other news, the counterattack at the Trentino ended on 7 July, freeing General Cadorna free to contemplate another shot on the Isonzo. On 25 July Serbian troops (Remember Serbia?) showed up at Salonika, followed in five days by a contingent of Russians, of whom there seemed to be an endless supply. Incidentally, on 25 July the Russians took Erzincan (Erzinjan) in northeastern Turkey; this is as far as they would penetrate into Anatolia.
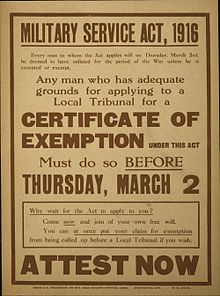
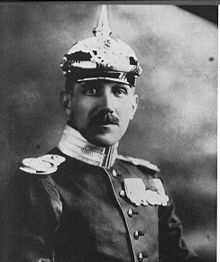
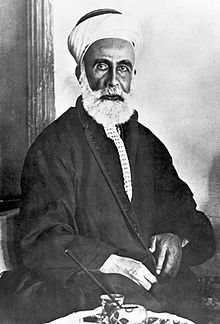
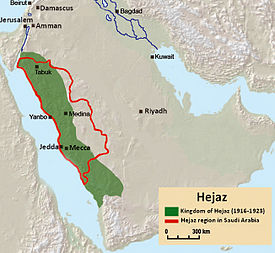
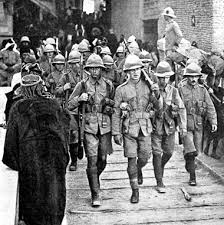
Finally, things were heating up on the Arab front. In Sinai the Turks began an offensive towards the Suez Canal on 19 July, but far more important to the post-war world, Britain signed a treaty with Abdulaziz Ibn Sa’ud, Emir of Nejd and Hasa, the creator and future king of Saudi Arabia. That kingdom would include the Hejaz (Too bad, Sherif Hussein) where on 27 July Arab forces took Yenbo, the port of Medina, easing their supply problems. And soon Lawrence would show up.

Ibn Sa’ud

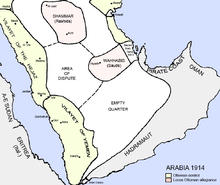
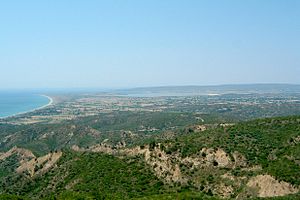
The Hejaz


![220px-Pobedata_nad_syrbia[1]](https://qqduckus.com/wp-content/uploads/2016/01/220px-pobedata_nad_syrbia1.jpg)