1915 came to an end with few significant changes made in the past year of fighting. Bulgaria was in, Serbia was out and Greece was both in and out, all of which strategically aided the Central Powers, but hardly caused any swing in the overall balance of power. More significantly, the Russians were driven out of Poland and Galicia, but as events would demonstrate, they were far from being a spent force. Perhaps the most significant result of a year of conflict was that hundreds of thousands of men were no longer alive or no longer in possession of all their body parts. Governments and generals had certainly come to the conclusion that this war was not going to be easy or brief after all, but they could come up with nothing better than doing the same old same old.
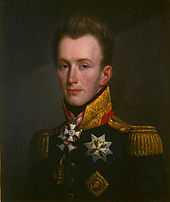
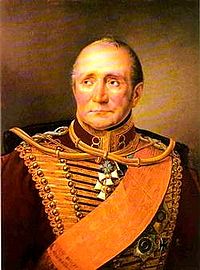
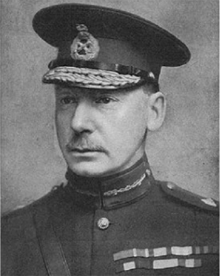
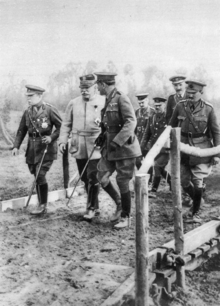
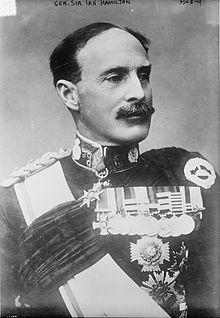
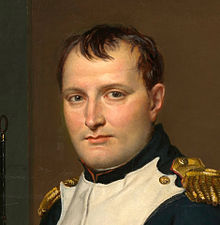
Actually, one simple “solution” was to change or at least shuffle generals. On 3 December Joffre was made Commander in Chief of all the French armies, hardly a great development, inasmuch as his tactical inclinations were unchanged from a year of slaughter and as ponderous as his imposing physique. Meanwhile, Sir John French, the C-in-C of the BEF, was under mounting criticism from just about everyone, including Joffre, Kitchener, Haig, Asquith and the King, who generally felt he was not an aggressive enough commander. Rather than be sacked, he resigned on 15 December and was replaced four days later by Douglas Haig, who was sufficiently aggressive; he would become known as the ”Butcher of the Somme.” On 22 December the Chief of the General Staff of the BEF and the Chief of the Imperial General Staff also resigned.

The Butcher of the Somme
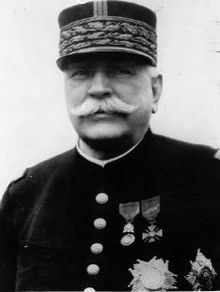
Papa Joffre

French and PM Asquith
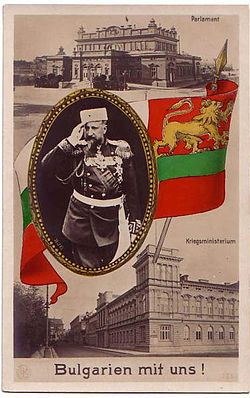
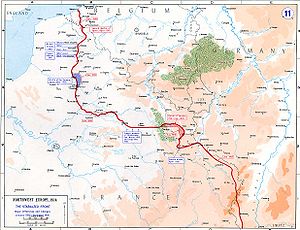
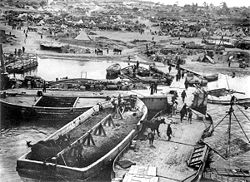
In the east it was withdrawal time for the allies. On 2 December the French force in Macedonia withdrew to Salonika, followed on 7 December by the British. They then demanded that the Greek forces in Salonika leave, which on 11 December they refused to do. It was after all their country, and they were officially a neutral, demonstrated on 14 December by an agreement with the Bulgarians to establish a neutral zone along the Greek frontier. But they were a relatively helpless neutral: on 30 December French general Maurice Sarrail had all consuls of the Central Powers in Salonika arrested and deported. Salonika was now a huge fortified camp, containing 150,000 allied troops, who became known as the ”Gardeners of Salonika.”

General Maurice Sarrrail

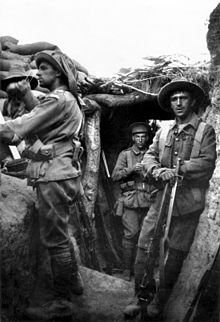
French soldiers at Salonika
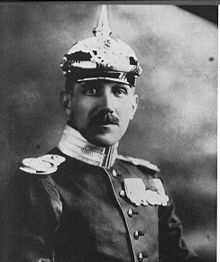
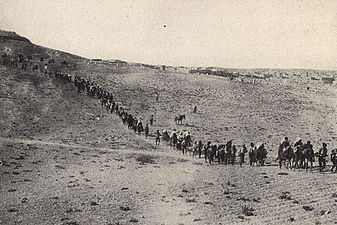
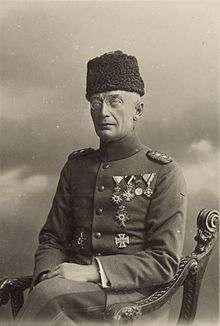
Further east, on 3 December the British/Indian expeditionary force retreating down the Tigris reached Kut-al-Amara, which Townshend decided to fortify. Four days later 11,000 Ottoman troops, commanded by the 72 year old Field Marshal Colmar von der Goltz, an old Turkish hand (Goltz Pasha), arrived and placed Kut and the 8000 British troops under siege. After a month of this, including an unsuccessful Turkish assault on Christmas Eve, Townshend decided to break out and head for Basra, but he was overruled by his commander, Sir John Nixon, the senior general of the Indian Army, who thought the siege was an excellent way to tie up Ottoman forces. It would also prove an excellent way to lose 8000 Imperial troops.

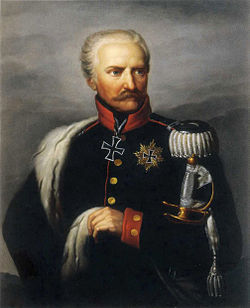
Goltz Pasha
Townshend

Nixon
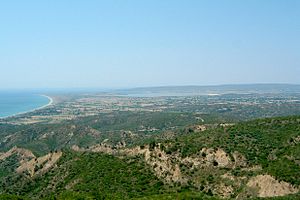
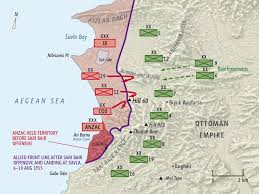
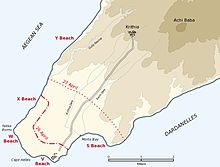
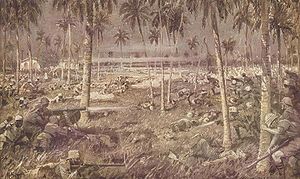
Elsewhere in the Ottoman Empire a more successful withdrawal began, when the allies finally gave up the completely stalled Gallipoli campaign. On 19 December the evacuation of troops from Suvla Bay and Anzac Cove began and was completed without trouble the following day. The main force at Helles would leave in January.

Bones left at Anzac Cove

Aussies charging just before the Anzac evacuation
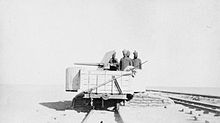
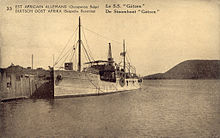
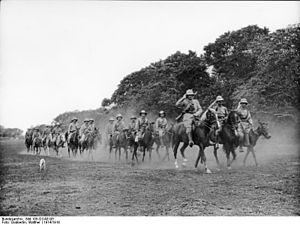
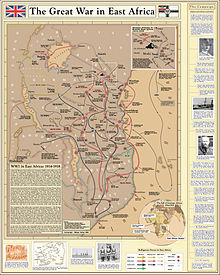
On the other hand, the East African Front was lighting up again, as the British began naval operations on Lake Tanganyika. The gunboats Mimi and Toutou had completed their 10,000 mile journey from Britain to South Africa and overland to Tanganyika and were launched on 22 and 23 December. On 26 December they engaged the German gunboat Kingani, which was captured and refitted by the British as the Fifi. More action would follow.

The Kingani/Fifi
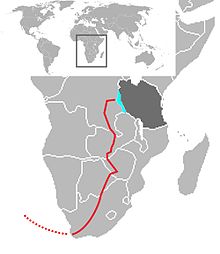
The epic journey of the Mimi and Toutou
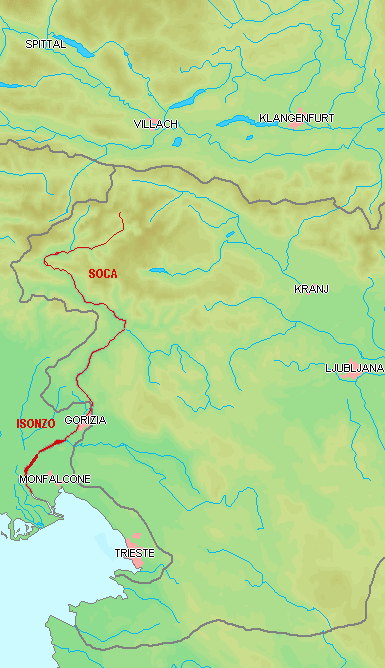
On 10 December the Fourth Battle of the Isonzo came to an end. The Italians had suffered 49,500 casualties, the Austrians 32,100. For nothing. Yet, General Cadorna was not sacked, but allowed to carry on his attempts to capture Gorizia and achieve the big breakthrough that all these characters dreamed of.
Finally, a couple of diplomatic arrangements of some interest. On 28 December two German military attachés in Washington, Captains Karl Boy-Ed and Franz von Papen were declared personae non gratae for being actively involved in espionage and sabotage (America was supplying arms to the Entente) and recalled to Germany. Von Papen would after the war become the Chancellor of the Weimar Republic and his intrigues would help elevate Adolf Hitler to the Chancellorship.
The young von Papen

Boy-Ed
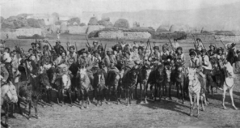
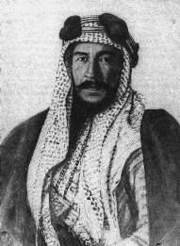
On 26 December Britain signed a treaty with Ibn Saud (or Abdulaziz), an Arab sheik who from 1902 had been extending the control of the House of Saud out from Riyadh. His main enemy was the House of Rashid, which with Ottoman aid defeated Ibn Saud in 1904, only to be driven out two years later, along with their Turkish allies. By 1912 Ibn Saud had conquered most of Nejd (the interior of the peninsula) and the eastern coast, becoming the Emir of Nejd and Hasa. The Ottomans were left with control of the Hejaz, the western coast of the peninsula, where Mecca and the holy sites of Islam were.
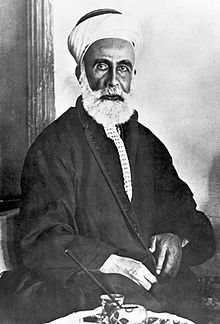
Hussein ibn Ali
Sharif and Emir of Mecca
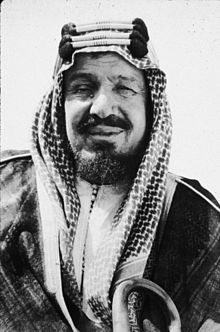
Ibn Saud
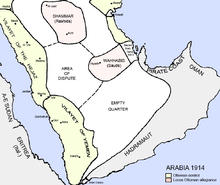
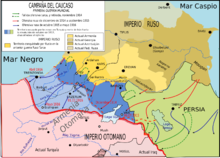
Arabia in 1914
The British interest was not oil, which was not discovered in Arabia until 1938, but finding a stable ally in Arabia, who could protect British interests in the Persian Gulf and fight the Turks. By virtue of the Treaty of Darin of 1915 Saudi Arabia became a British protectorate with delineated borders and agreed to respect British interests. Ibn Saud did not, however, agree to keep his hands off the Hejaz, despite the fact that only two months earlier the British had made an agreement with the Sherif of Mecca. Why should a Great Power worry about promises made to wogs?
And so 1915 came to an end. Oh, this year there was no Christmas truce. The generals and governments were not about to put up with that again.


![220px-Waterloo_Campaign_map-alt3.svg[1]](https://qqduckus.com/wp-content/uploads/2015/06/220px-waterloo_campaign_map-alt3-svg1.png)


![Battle_of_Waterloo.svg[1]](https://qqduckus.com/wp-content/uploads/2015/06/battle_of_waterloo-svg1.png)